---
title: "Two-Way Data Binding with LemonadeJS | v3 docs"
description: "LemonadeJS v3 archive. Achieve real-time synchronization between JavaScript and views using LemonadeJS's efficient two-way data binding."
source: https://lemonadejs.com/docs/v3/two-way-binding/
---
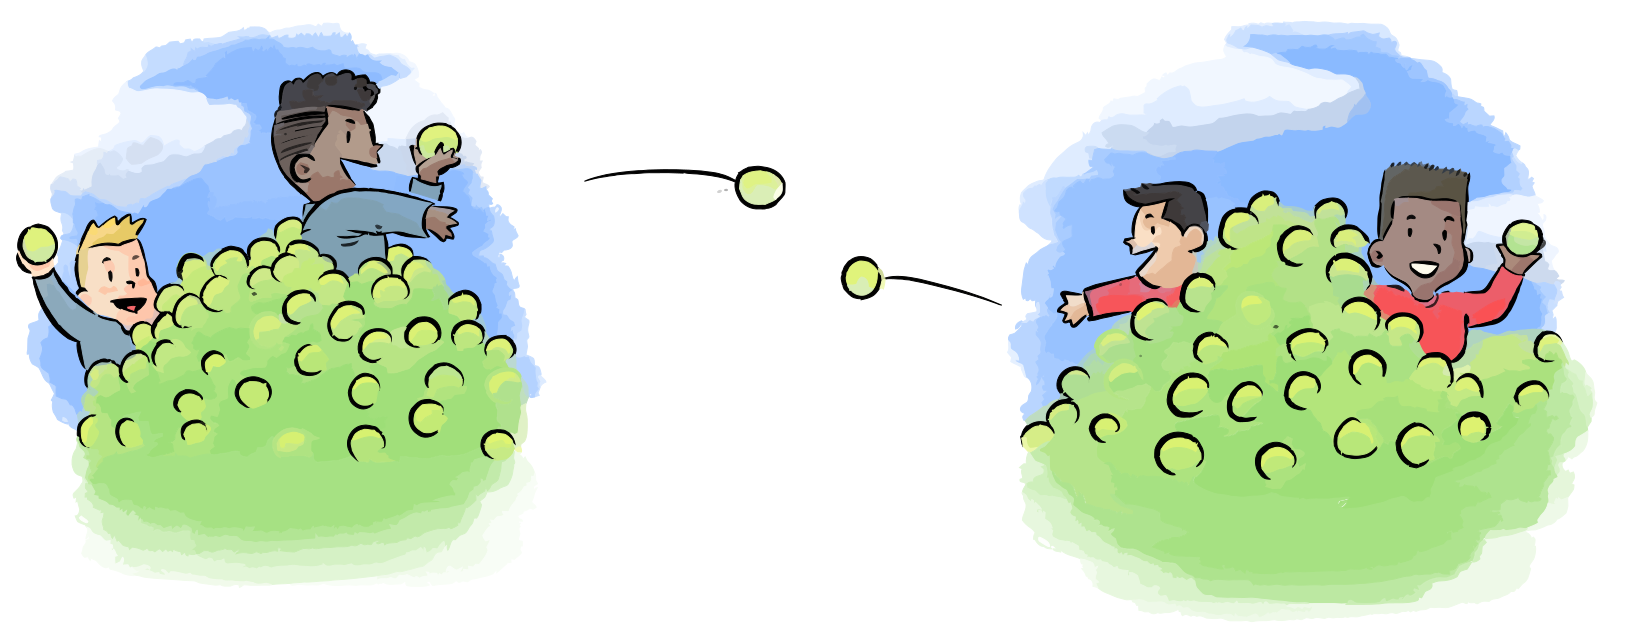
![Two-way data binding](/img/two-way-binding-animation.svg)

Two-way data binding
====================

Two-way data binding is a technique that streamlines synchronization between a JavaScript reference and its corresponding HTML element value and vice versa. This approach ensures that changes in the `self` property value are reflected in the HTML element, and alterations in the HTML element value propagate back to the `self`.  

  
> **The :bind attribute**
>
> The `:bind` attribute synchronizes the `self` property to the component or the HTML element value.


Two-way data binding examples
-----------------------------

The following examples show how to bind simple and more complex native HTML elements, such as multiple dropdowns and checkboxes.  
  

### Text input

The :bind creates a transparent event to keep the self property in sync with the value of the input text.  
  
```html
<html>
<script src="https://cdn.jsdelivr.net/npm/lemonadejs@3/dist/lemonade.js"></script>
<div id='root'></div>
<script>
function Input() {
    // Initial state
    const self = this;
    self.input = 'Reactive';
    // Two-way data binding values
    // Any change in the self.input will update the input and vice-versa.
    return `<>
        <p>{{self.input}}</p>
        <input type='text' :bind='self.input' />
        <input type='button' value='Update'
            onclick="self.input = 'New value'" />
    </>`;
}

lemonade.render(Input, document.getElementById('root'));
</script>
</html>
```

[See this example on codesandbox](https://codesandbox.io/s/two-way-data-binding-example-jq5doq)


### Checkboxes

The checkbox works similarly to the example above. The state of the checkbox and the value of the `{self}` property is bound.  
  

```html
<html>
<script src="https://cdn.jsdelivr.net/npm/lemonadejs@3/dist/lemonade.js"></script>
<div id='root'></div>
<script>
function Checkbox() {
    const self = this;
    self.email = true;
    self.phone = false;

    return `<>
        <span>Email: {{self.email}}</span><br>
        <span>Phone: {{self.phone}}</span><br>
        <fieldset>
            <legend>Contact options</legend>
            <label><input type='checkbox' :bind='self.email'/> Email</label>
            <label><input type='checkbox' :bind='self.phone'/> Phone</label>
        </fieldset>
    </>`;
}
lemonade.render(Checkbox, document.getElementById('root'));
</script>
</html>
```

[See this example on codesandbox](https://codesandbox.io/s/two-way-data-binding-with-checkboxes-wefr6u)


### Radio

On a radio HTML element, the self attribute should be the same so that `self` property holds the exact value of the radio.  
  

```html
<html>
<script src="https://cdn.jsdelivr.net/npm/lemonadejs@3/dist/lemonade.js"></script>
<div id='root'></div>
<script>
function Radio() {
    const self = this;
    self.favorite = 'Pears';
    return `<>
        <fieldset>
            <legend>Favorite fruit</legend>
            <label>
                <input type='radio' name='favorite'
                    value='Apples' :bind='self.favorite' />
                Apples
            </label>
            <label>
                <input type='radio' name='favorite'
                    value='Pears' :bind='self.favorite' />
                Pears
            </label>
            <label>
                <input type='radio' name='favorite'
                    value='Oranges' :bind='self.favorite' />
                Oranges
            </label>
        </fieldset>
        <br/>
        <input type='button' onclick="alert(self.favorite)" value='Get' />
        <input type='button' onclick="self.favorite = 'Oranges'"
            value='Set (Oranges)' />
    </>`;
}
lemonade.render(Radio, document.getElementById('root'));
</script>
</html>
```

[See this example on codesandbox](https://codesandbox.io/s/two-way-data-binding-with-radio-3r0tno)


### Multiple select

The multiple select has a different handler from other HTML elements. That is because multiple select updates an array that holds the various values.  
  

```html
<html>
<script src="https://cdn.jsdelivr.net/npm/lemonadejs@3/dist/lemonade.js"></script>
<div id='root'></div>
<script>
function Multiple() {
    const self = this;
    self.options = ['John','George'];

    return `<>
        <p>{{self.options}}</p>
        <select :bind='self.options' multiple='multiple' size='10'>
            <option>Paul</option>
            <option>Ringo</option>
            <option>John</option>
            <option>George</option>
        </select><br/>
        <input type="button" onclick="self.options = ['Ringo'];" value="Update" />
    </>`
}
lemonade.render(Multiple, document.getElementById('root'));
</script>
</html>
```

[See this example on codesandbox](https://codesandbox.io/s/two-way-data-binding-with-dropdown-hw73t2)


### ContentEditable

LemonadeJS will track changes and keep the `self` property value in sync with changes in an editable div and vice versa.  
  
```html
<html>
<script src="https://cdn.jsdelivr.net/npm/lemonadejs@3/dist/lemonade.js"></script>
<div id='root'></div>
<script>
function Editable() {
    const self = this;
    self.editor = 'Hello world';

    return `<>
        <p>Content: {{self.editor}}</p>
        <div :bind='self.editor' contentEditable='true'
            style='border:1px solid black'></div><br/>
        <input type='button' onclick="alert(self.editor)" value="Get" />
    </>`;
}
lemonade.render(Editable, document.getElementById('root'));
</script>
</html>
```

[See this example on codesandbox](https://codesandbox.io/s/two-way-data-binding-with-content-editable-div-7nryuj)


### Two-way binding in custom elements

The :bind attributed to custom elements binds with the component `self` attribute value.  
  

#### Basic implementation

The following example shows an implementation of :bind in custom elements.  
  
```html
<html>
<script src="https://cdn.jsdelivr.net/npm/lemonadejs@3/dist/lemonade.js"></script>
<div id='root'></div>
<script>
function Test() {
    // This will bring all properties defined in the tag
    const self = this;
    // Custom HTML components has the self.value as default
    return `<b>Component value: {{self.value}}</b>`;
}

function Component() {
    const self = this;
    self.test = "Initial value";
    return `<>
        <Test :bind="self.test" /><br/><br/>
        <input type='button' onclick="alert(self.test)" value="Get"  />
        <input type='button' onclick="self.test = 'Test'" value="Set" />
    </>`;
}
// Render
lemonade.setComponents({ Test });
// Render the component
lemonade.render(Component, document.getElementById('root'));
</script>
</html>
```

[See this example on codesandbox](https://codesandbox.io/s/two-way-data-binding-hpum0y)


### Integration with custom third-party plugins

The following example shows a Jsuites Tags Plugin integrated with LemonadeJS.  
  
```html
<html>
<script src="https://cdn.jsdelivr.net/npm/lemonadejs@3/dist/lemonade.js"></script>
<script src="https://jsuites.net/v4/jsuites.js"></script>
<link rel="stylesheet" href="https://jsuites.net/v4/jsuites.css" type="text/css" />
<div id='root'></div>
<script>
function Keywords() {
    const self = this;
    // Render reactive component
    self.create = function(o) {
        jSuites.tags(o);
        // List of keywords
        self.keywords = 'Oranges,pears';
    }
    // Component reactive template
    return `<>
        <div :bind='self.keywords' :ready='self.create(this)'></div>
        <div>Keywords: {{self.keywords}}</div>
    </>`
}
lemonade.render(Keywords, document.getElementById('root'));
</script>
</html>
```

The tags plugin component implements val() to integrate with LemonadeJS :bind.

[See this example on codesandbox](https://codesandbox.io/s/two-way-data-binding-integration-286wtt)

> Conclusion
> ----------
>
> In the example above, you might notice the usage of another of the native lemonade special HTML attribute: `:ready`. That method call happens when the element is created and appended to the DOM.  
  

### More custom-integrated custom components

- For more about other components, please visit the [javascript plugins](https://jsuites.net/v4) website.  

&nbsp;

[Next chapter: Dealing with arrays and loops](/docs/v3/arrays/){.button .main}